EASY SCRAPBOOKING or PROJECT LIFE
I am experimenting with a new style of scrap-booking that is called “Easy Scrapbooking” or “Project Life“. I think this style is perfect to accommodate my hectic life style of modern motherhood. I think “Project Life” or “Scrapbooking Made Easy” creations are wonderful to document our family life, our children growing steps, vacations, parties, activities and any event that we take lots of photos. This type of project makes it easy to use lots of photos of day to day life-hood.
I fell in love with the pockets idea but I wanted to create my own cards since we did not have TCD or WER Cards available yet in my area. I wanted to experiment with different sizes and styles to accommodate the photos that I have and wanted to work with.
I like to work in double pages since it gives me the opportunity to tell our story better with a sequence of photos, sentiment cards and journaling cards. I usually do not use much embellishment in my photos to preserve the photos in its original way longer, but I was in an experimental stage. I tried some stickers, design paper cutouts, and some overlays. The overlays happens to be my favorite embellishment of the three and they fit perfectly on the pockets.
I enjoy working with TCD products since I first started my scrapbooking hobby. I feel that my photos look better in TCD pattern paper and love the classic, chic, timeless, and beautiful elements of Teresa’s designs. TCD talks to my heart, my family style and projects my classic personality very well. I finally fell in love with this brand and line of products last summer when I had the chance to attend to a Teresa Collins Workshop in The Puerto Rico Scrapbooking Event 2013. We share a special click and have a lot in common. Since then I have been crafting a lot more TCD projects. In my television show CREATIVA I always use at least one, if not more, TCD products on each production.
‘
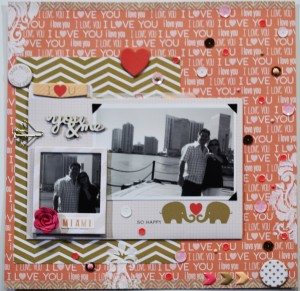
This page is one of my vacation book. This is a traditional 12″ x 12″ layout created with TCD “You are My Happy“. The highlight of this layout is the file folder. The file folder pop opens to reveal 4 “secrete” photos. The airplane decorative clip keeps it closed. Can you see the modeling paste on the “damask” shape? I love working with this stencil. You have to try it!
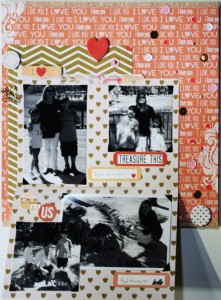
I decided that in order to tell our story better and make a transition, I designed a 12″ x 12″ layout, since it came with my pocket set and is perfect for the first page of my book. Next we have a fun pocket, this one has a big 12″ x 6″ pocket and three 4″x 6″ pockets.
Here is my first double pocket page set:
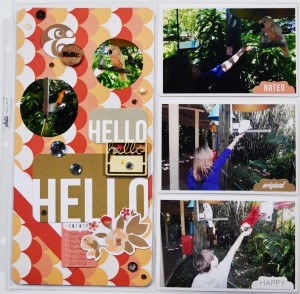
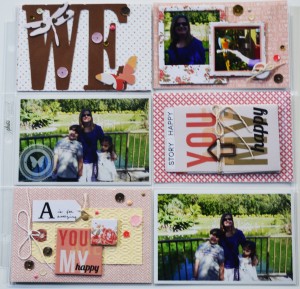
The first page I titled “Hello, hello and hello” and the one next to it I titled, “WE”, which tells the story of our last trip to Miami with the children. We did some site seeing near our hotel and then we visit the highlight of the trip, the Jungle Islands.
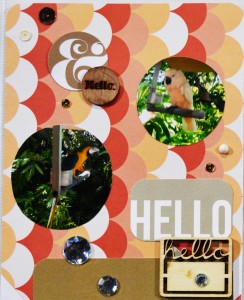
We enjoyed the parrots and loved that they were not in cages.
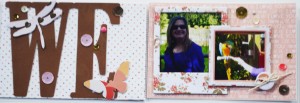
We had the opportunity to visit the red kangaroos in a private up close event. It was the first time for all of us to see a real kangaroo. We got to feed a joey and his female friends. The males were taking a long nap.
Here is my second and third double pocket page set:
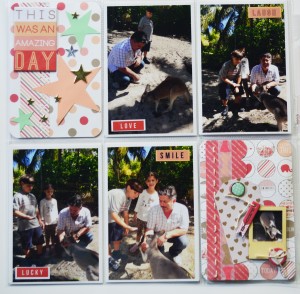
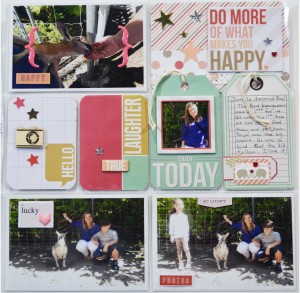
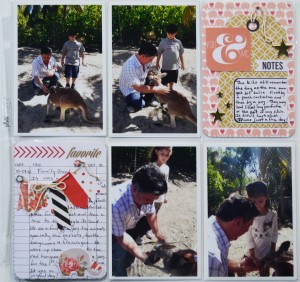
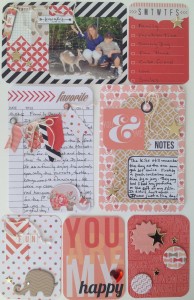
I have to point out that I did a lot of mix and match of the TCD papers and products. I wanted to capture the Classic Art Deco colors that are so traditional of Miami. I love the pastel aqua blue, the mint, the peach that are so traditional of the architecture of the late 20′s. The corals and golds make a beautiful high contrast and balance of f the elements in the design on these pages.
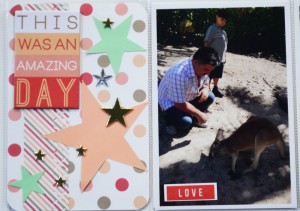
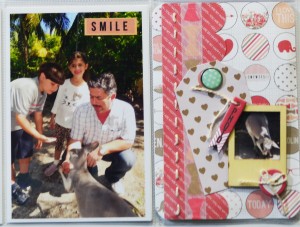
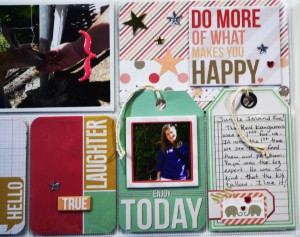
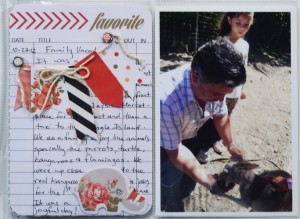
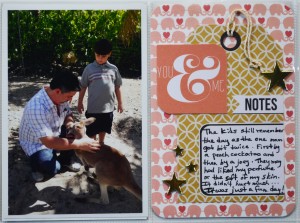
I am including highlights photos of the cards that I designed for this project. The first groups of cards were designed using TCD “Daily Stories” and “You are My Happy“. I think this two collections complement each other while giving me the color pallet that I wanted to work with. Here is a list of some of the embellishment that I added to this crafting papers to create my cards. The added elements are: crystals, buttons, hand stitching twine, die cuts stars, sequins, enamel shapes, ephemera pieces, shipping tags, washi tape, stickers, chipboard, decorative brads and wood embellishments.
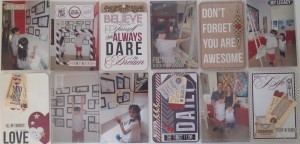
To finish this first attempt of “Easy Scrapbooking” experimentation I chose the TCD Collection “Hello My Name Is”, because it had the perfect colors for my children art show photos- “Art Expo“. These last pages are my favorite two because they best reflect my personality and complement our photos as if the pattern papers were designed for them. Out the the four sets of pocket pages this two were the easiest and the ones that I love the most. I love how the display of photos and cards work together and create a beautiful composition making each page different. I enjoy how fast and easy is to work with this system of scrapbooking. I am sure I will be making more “Easy Scrapbooking” pages and books soon. Crafting is a passion that I learned from my mother and I hope my daughter learns it from me. I am sure my daughter and I will have fun making more “Easy Scrapbooking pages” together.
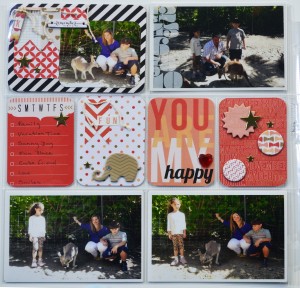
Here is my fourth double pocket page set:
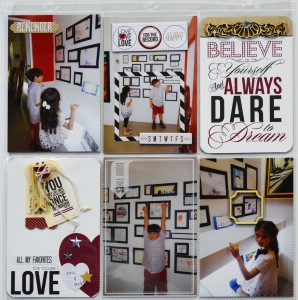
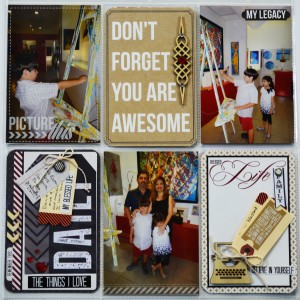
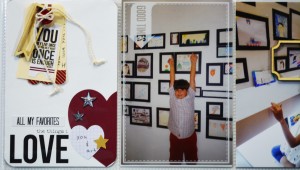
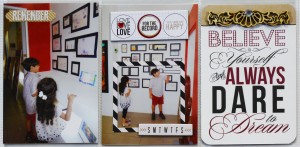
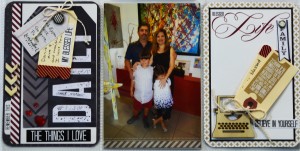
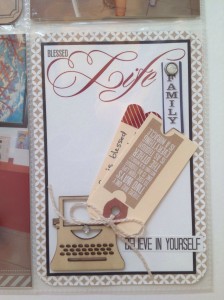
The highlights of this last set of cards are my fun documentation using shipping tags. I tied them strategically to create a secret message for my children to find as they look at the book. My favorite card is the one titled “Blessed Life”. I tied the journaling cards to the wooden typewriter as if the paper was coming out from it. I am so blessed to have a family since at one point I thought it was never going to happen for me. My children are my biggest blessing in life and my husband is my life dream. I am blessed because I have them. Here is the list of the elements or embellishment that I added to this papers cards. The added elements are: crystals, buttons, cotton twine, a die cuts star and heart, stickers, shipping tags, chipboard stickers, decorative brads and wood embellishments. I love the crystals over the wood.
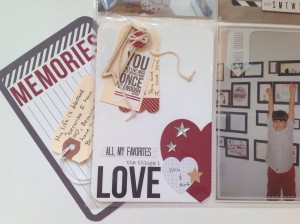
I hope you find inspiration in my pages and try this fun and easy way to scrap with hope to enjoy collecting memories with your children and friends.
Thank you for looking!
